Here is a detailed article on changing door knobs and locks. So whether your door locks have broken or you simply would like to update, these instructions will help guide you through the process.
If you don’t have the time or simply want to hire it done. Have a knowledgeable, courteous and efficient professional such as myself install the new door locks for you. Request a quote.
Learn when and how to enhance home security by replacing—or rekeying— your door locks.
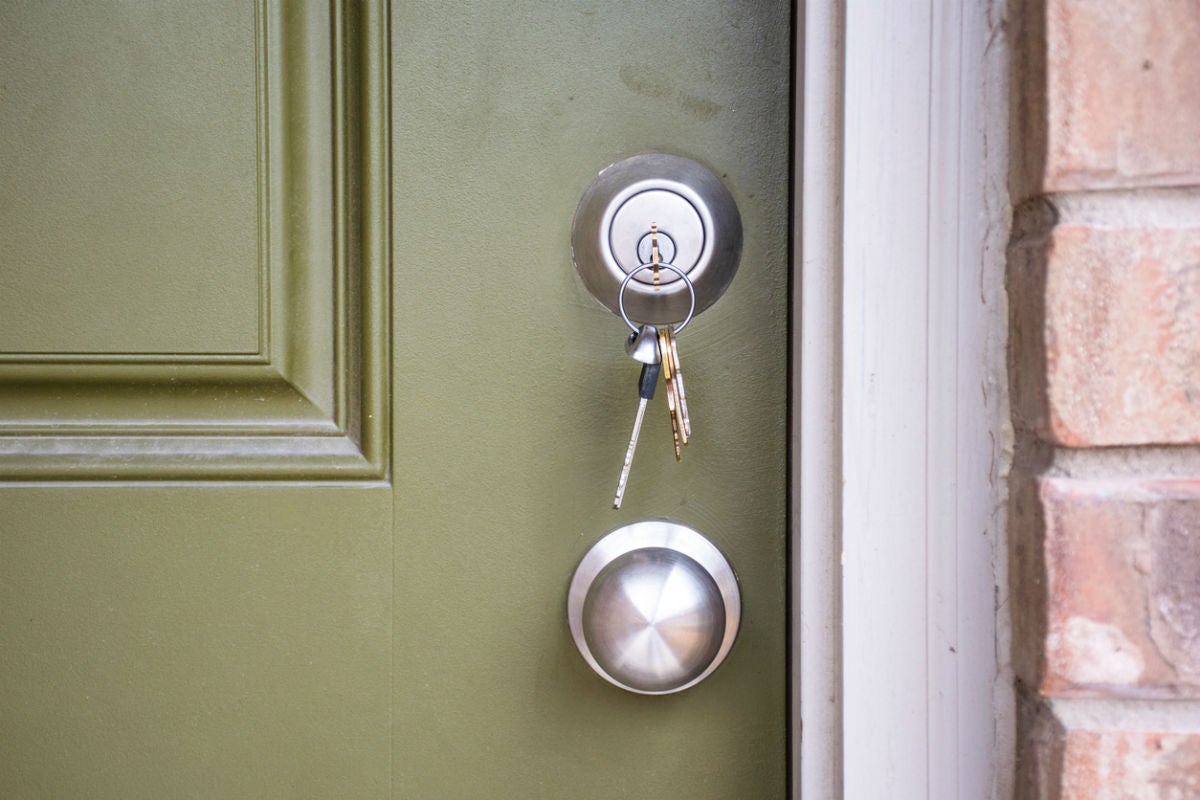
Photo: istockphoto.com
Your home is only as secure as the locks on its doors. Over time, or as a result of security situations, you may feel the need to change your locks to protect your safety and privacy. There are several ways to accomplish this, so if you’re considering replacing the door locks on your house, keep reading. We’ll help you understand when it’s essential, and when you can get by with a simpler, less expensive lock-changing method.
1. Know the difference: replacing vs. rekeying.
Changing locks on a door can involve either replacing them or rekeying them. Both methods ensure that old keys will no longer open the lock. At the end of this article, you’ll find a full cost comparison of replacing versus rekeying, by a professional locksmith and as a DIY job.
- Replacing door locks. The most comprehensive method of ensuring security, it involves removing the existing lock from the door (including the handle if it’s a handle-lock combo) and then installing a brand new lock in its place. Expect to pay $80 to $300 per lock, depending on quality, and up to $200 more for professional installation. Many door locks, however, are DIY-friendly and come with installation instructions.
- Rekeying door locks. In apartment complexes, this is now the most common way of changing locks on a door. Rekeying involves realigning the pins and springs in the inner workings of the lock in order to match the lock to a new key. Click here to learn more about the rekeying process. You’ll pay $15 to $25 for a kit that allows you to rekey the locks yourself. If you have it done professionally, expect to pay $80 to $160 dollars to have a locksmith come out and do the job.

Photo: istockphoto.com
2. Rekey when you move.
When a new house is under construction, a variety of people—including subcontractors, inspectors, and real estate agents—will have keys to the door. A new homeowner won’t want keys in the hands of all those people, so the lock should be rekeyed. This is typically a part of the sales process (and the responsibility of the builder), although the buyer’s real estate agent is the one who makes sure it’s complete before closing. Rekeying is a good idea any time you move into a different home because you never know how many keys are floating around. When you’re buying an existing house, you’re on the hook for having the locks rekeyed. If you’re renting, check your lease agreement for regulations about changing locks on a door—you may be required to give the landlord a key to the newly rekeyed lock.
3. Replace damaged locks.
Like all mechanisms with moving parts, a lock eventually wears out. Jamming the wrong key into a lock or just the repetitive movement of locking and unlocking the door over time can damage the internal mechanism, resulting in a key that sticksor is difficult to turn. Rekeying a damaged or worn lock won’t solve the issue, because it can’t make a worn-out lock new again—preexisting problems with the locking mechanism will still be there. In this situation, it’s best to bite the bullet and replace the entire lock.

Photo: istockphoto.com
4. Change the locks when your keys have been lost or stolen.
If your house keys are ever stolen, one of your first orders of business is changing the locks on your doors so no one can gain access to your home. Rekeying is the method of choice in this situation, just as it would be if a family member misplaced a key or otherwise lost track of it. The one instance when you’d need to replace the entire lock is if the only key to the lock went missing. The rekeying process requires the use of an original key; if you don’t have one you’ll have to replace the entire lock.
5. Consider the convenience of a single key.
It’s annoying to fumble through half a dozen keys because the front door key doesn’t fit the backdoor or the side door locks and vice versa. The convenience of having a single key fit all the locks on your house (including the garage) can be accomplished by rekeying—as long as you have the same brand of locks on all the doors. Rekeying techniques (and key styles) vary from one manufacturer to another. For example, if all the locks on your house are Schlage, you can rekey all of them to fit the same key. If the locks are of various brands, you’ll need to replace some to have all rekeyed to accept a single key.
6. Better locks mean better security.
After a break-in or a rash of burglaries in the neighborhood, many homeowners upgrade to more secure locks. Modern door locks offer cutting-edge technology that both improves and simplifies home security. Many of today’s locks feature a keypad with a code instead of an old-fashioned key to unlock the door. The keypad can be programmed to accept a numerical digit code that can easily be reset to a new code if necessary.
High tech has gone even deeper into home security, via smart locks synced to a phone, tablet, or PC, allowing you to lock and unlock the door remotely. Smart locks will also send an alert to your device if the door is unlocked in your absence.
7. Cost comparison.
Replacing door locks is more expensive than rekeying them, but you can save money on both if you do the job yourself. Before deciding, consider the following cost breakdown.
Photo: istockphoto.com
Replacing Door Locks
- You’ll pay from $40 to $300 to buy a new door lock, depending on design, materials, and whether it’s a simple key-in-knob lock or a high-end lock-and-handle combo with smart technology features.
- Professional locksmith installation can add another $80 to $200, depending on the complexity of the lock.
- Replacing door locks is a relatively simple DIY project. If you know your way around a basic screwdriver, you should be able to tackle it in under an hour. Full installation instructions come with the new locks and customer support hotlines are often available to answer any questions.
Rekeying Door Locks
- Homeowners rarely rekey their own locks, often thinking it’s too difficult, but major lock manufacturers do sell brand-specific rekeying kits. The kits cost a mere $15 to $25 from the lock manufacturer, a hardware store, or online retailer (this Kwikset Rekey Kit, available from Amazon, is designed to rekey Kwikset locks).
- A locksmith will charge $80 to $160 to rekey a lock.
- If you’re not sure you want to rekey your own locks but would rather not pay a locksmith to come to your home, there’s a third option. Remove the lock from the door with a screwdriver and take it to your local hardware store or key shop, where the technician can rekey it for you for $5 to $10.


